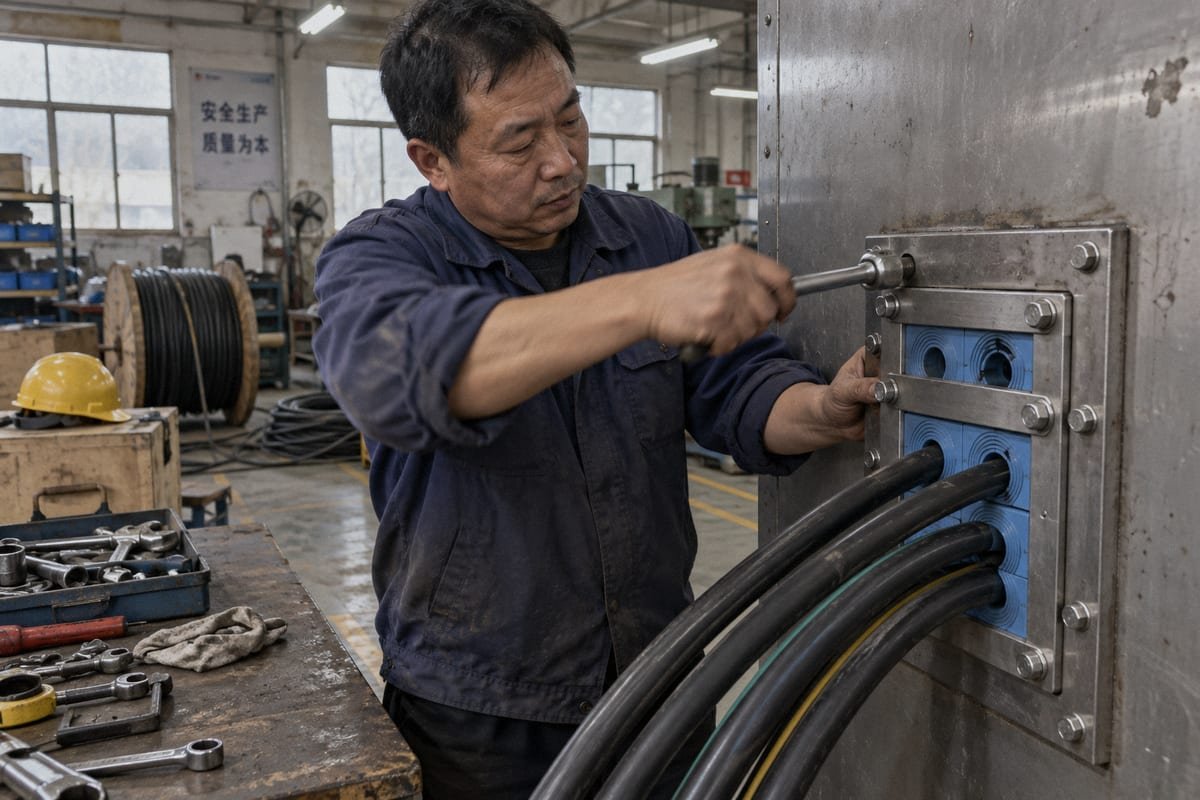
A wedge compression block in multi cable transit 1 is the part buyers ask me about most. Mis-torque it and the penetration leaks. Our production line taught us that early.
A wedge compression block in multi cable transit works by converting bolt torque into expansion. Tightening the compression bolt spreads the wedge, which squeezes the stacked rubber sealing modules against each cable and the frame. That sustained mechanical pressure creates a watertight, gas-tight barrier.
That is the short version. The long version matters when you are writing a specification, comparing two suppliers, or trying to fit a second-source unit into a frame that is already welded in place. I will walk through the mechanism first, then the paperwork, then the fit questions, and finally the sizing math.
What role does the wedge compression block play in achieving a watertight and gas-tight seal?
During a pressure test on our Shaanxi line last year, a module stack held 0.4 MPa only after we re-seated the wedge. That moment explains its role well.
The wedge compression block is the final locking element. It converts torque from the compression bolt into lateral pressure across the whole frame width, closing every air gap between sealing modules, cables, and frame. Without that sustained compression, the rubber cannot hold water or gas pressure.
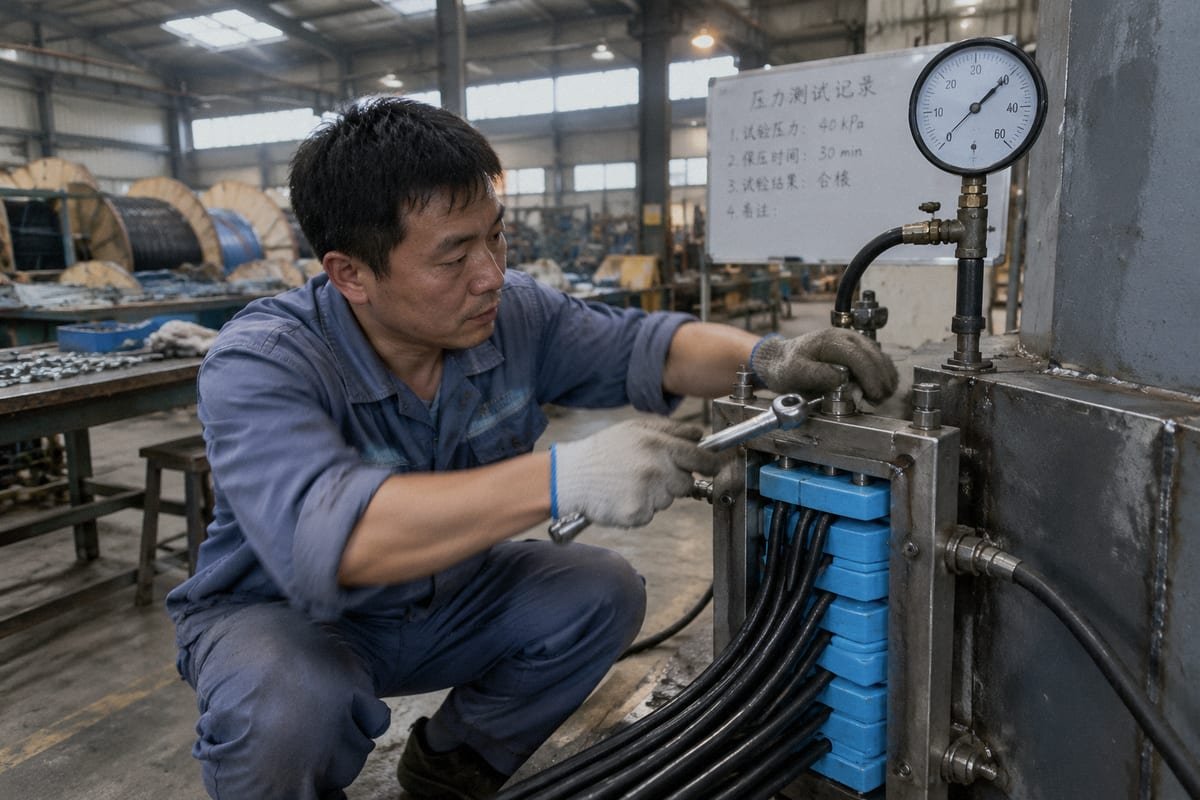
The wedge is not a plug. It does not seal anything on its own. I like to describe it as the mechanical heart of a modular system. Four parts work together, and each has one job.
The four parts of a transit frame assembly
| Component | Job in the seal | Material we use |
|---|---|---|
| Frame | Bolted or welded into the wall, deck, or container panel; gives the modules something to push against | Carbon steel or stainless steel |
| Sealing modules 2 | Rubber blocks with peelable step-core layers that wrap each cable | Halogen-free EPDM |
| Stay plates | Thin plates between rows; keep the stack aligned and spread load evenly | Steel or aluminum |
| Mechanical compression unit (wedge) | Expands when the bolt is tightened; pushes the whole stack tight | EPDM body, galvanized or stainless bolt |
How torque becomes pressure
Here is the sequence in plain terms. The installer stacks modules around the cables in rows. A stay plate sits between rows and directly beneath the wedge, so the compression force reaches the top row evenly and no single module deforms. The wedge goes into the remaining packing space, usually at the top of the frame. Some designs allow the wedge to sit at the top, the bottom, or the middle. Then the installer turns the compression bolt with a socket wrench. The wedge grows vertically. Because the frame is rigid, that vertical growth has nowhere to go, so it turns into lateral pressure across the full internal width. Every module is squeezed against its neighbors, against the cable jackets 3, and against the frame walls.
That pressure does three things at once. It removes air paths, which gives you gas-tightness. It presses rubber against the cable jacket, which gives you watertight integrity 4. And it grips the cable, which gives you strain relief and pull-out resistance against vibration or accidental tugging. A thin coat of assembly lubricant on the modules helps them slide into position and lets the rubber settle into a tighter final seal.
Why compression is preferred over sealant
Buyers sometimes ask me whether the wedge is really a speed feature or a performance feature, because one vendor sells it as "seals in seconds" and another sells it as pressure resistance. My answer is that both are true and neither is the point. The point is that the seal comes from sustained elastic pressure, not from a cured compound. That is why you can loosen the bolt later, add a cable, and re-tighten. A potted or sealant-filled fire-rated cable penetration cannot do that without being cut out. Some compression units use double-threaded bolts so the wedge also retracts cleanly when loosened, and the EPDM body returns to shape for reuse.
Can I verify compression force and sealing performance with test documents before I specify a wedge block?
A sourcing engineer in Germany once replied to our quote with one line: send the test report first. I respect that. Documents beat brochures.
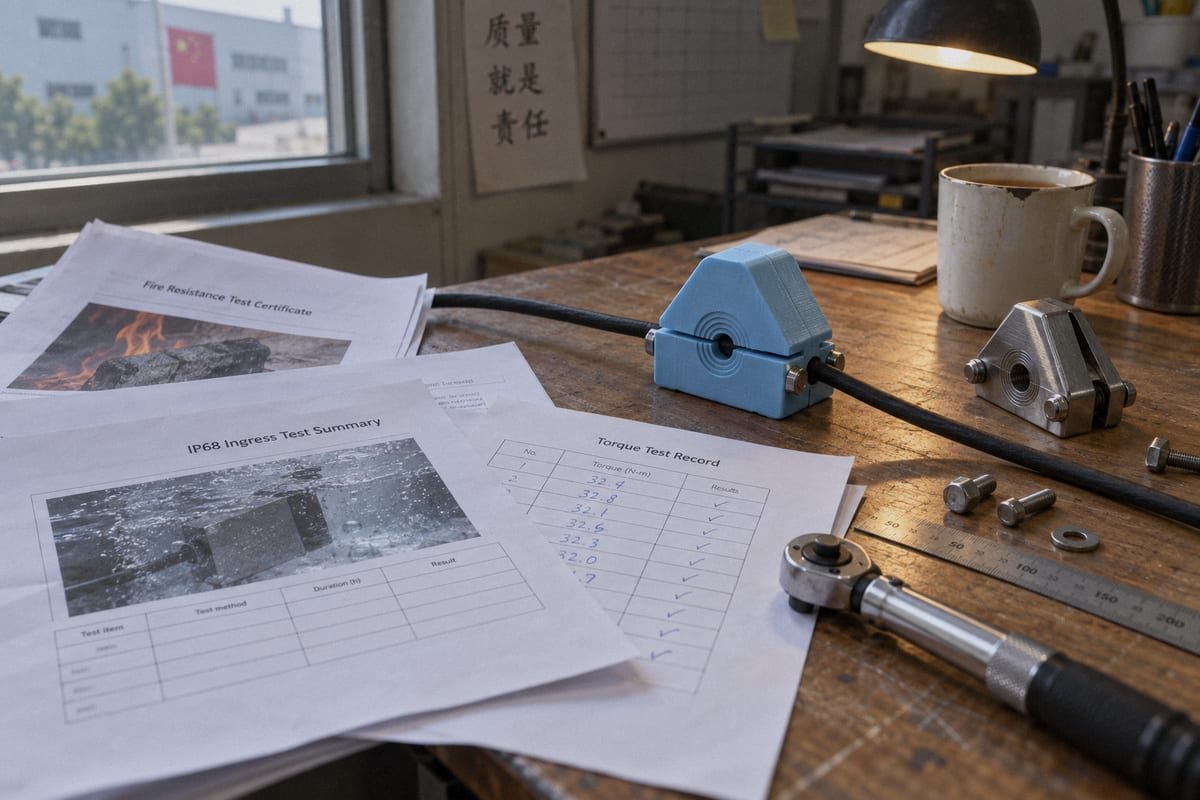
Yes. Ask for the certified system test reports, not a wedge-only datasheet. Relevant evidence includes watertight and gas-tight test results at a stated pressure range, fire test certificates for A-0 or A-60 ratings, IP68 ingress reports, and the torque or visual compression indicator specified for the installed assembly.
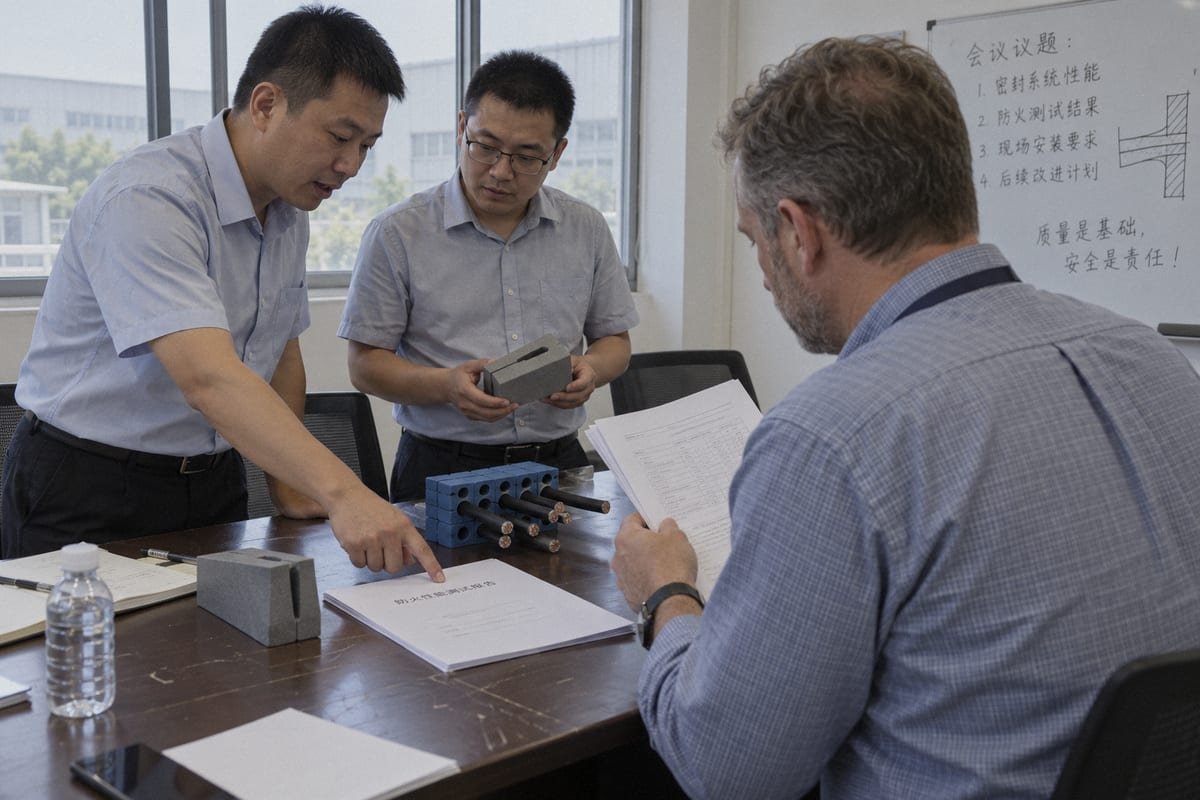
The wedge has no rating by itself. The rating belongs to the assembly that was put on the test rig. So the first thing I check when a buyer sends me a competitor's certificate is the scope line. Which frame? Which module family? Which packing height? Which torque? If the scope does not match what will be installed, the certificate proves very little.
The document set I send with a quotation
| Document | What it proves | Why it matters to a purchasing engineer |
|---|---|---|
| Watertight and gas-tight test report | Assembly held pressure across 0.01–0.4 MPa without leakage | Confirms sealing performance at the pressure your enclosure actually sees |
| Fire test certificate | A-0 or A-60 fire rating on the tested bulkhead or deck configuration | Required for marine, BESS container, and infrastructure approvals |
| IP68 ingress report | Dust and prolonged immersion resistance | Relevant for outdoor switchgear and modular data center wall penetrations |
| Factory system certificates | ISO 9001 and IATF 16949 quality systems; BV-approved factory | Shows the process behind the part, not just one good sample |
| Installation sheet with torque value or compression scale | The exact tightening target used during testing | Lets your installer reproduce the tested condition on site |
Verifying compression on site without instruments
You cannot put a load cell in every transit. So the design has to give the installer a way to see when the required pressure is reached. Two common methods exist. One is a printed compression scale on the wedge body that lines up with a mark on the frame. The other is bolt-head clearance, where the bolt head reaches a defined stop or gap. Either method is fine. What matters is that the test report states which method was used and what the target value was. I ask our quality team to photograph the indicator on every pressure test sample so the buyer can compare it to the field installation.
The objection about varying ratings
A fair objection I hear is that wedge-based transits from different vendors do not all perform the same. That is correct, and it is exactly why documents matter more than the word "wedge." Some product families are built for high static pressure. Others are optimized for frequent re-entry. Round formats often integrate the compression into the seal body instead of using a separate wedge. None of that is a problem. It only becomes a problem when a buyer assumes that all compression units share the same A60 fire rating or gas-tightness figure. Read the scope, match it to your frame, and request the full report rather than the summary page.
Will a wedge compression block from a different manufacturer fit my existing 120-frame cutout as a drop-in replacement?
Cost versus qualification effort is the trade-off I weigh with every second-source request. A cheaper wedge is useless if it needs a new cutout or a re-test.
Often yes, but only if the block is dimensionally compatible with the 120-frame standard. Check the internal frame width, packing height, and bolt geometry against a cross-reference table, then confirm with a validation sample. Compatible compression units built to those dimensions drop straight into existing cutouts.
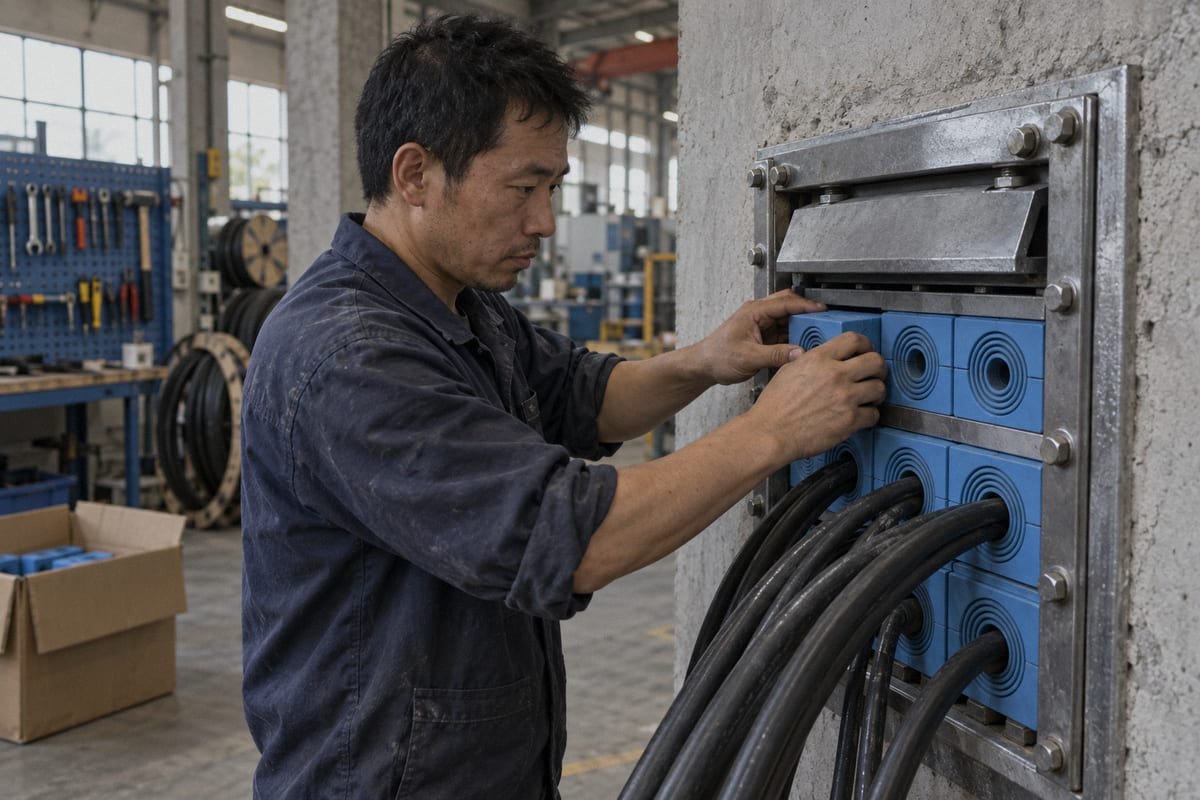
The 120-frame format is a dimensional convention, not a single brand's property. The internal width that the wedge must span is fixed. So is the depth. What varies between vendors is the compression method. One design uses a single central bolt. Another uses two bolts on a top plate. Another uses double-threaded bolts that both expand and retract the wedge. Those differences do not change the cutout, but they can change whether a specific wedge fits a specific frame without an adapter.
A four-step qualification path
- Send us the existing part number and a photo of the installed transit. We map it to the matching DEWIN model using our cross-reference table.
- Request the STEP or CAD file for the proposed wedge and overlay it on your frame drawing. This takes an engineer a few minutes and catches most fit problems.
- Order a free validation sample. Fit it in a spare frame or a test panel. Tighten to the stated torque and check the compression indicator.
- Run a leak check at your working pressure if your approval requires it, then release the part for production.
The dimensions that actually decide fit
| Check item | Why it matters | Typical failure if ignored |
|---|---|---|
| Internal frame width 5 | Wedge must span the full width to load every module | Wedge sits loose; modules on the edge do not seal |
| Packing height remaining | Wedge plus stay plate must fill the leftover space | Bolt bottoms out before target pressure is reached |
| Bolt count and thread | Must match the hole pattern or use an integrated top plate | Bolt cannot engage; installer improvises |
| Wedge body depth | Must match module depth for even face contact | Uneven compression across the transit depth |
| Stay plate thickness | Changes the available packing height | Wrong wedge size selected |
We keep our TSC square modules, stay plates, and compression units to 120-frame dimensions for one reason. Integrators want a qualified second source, and a second source only helps if it fits the frames already welded into their containers. When the fit is right, the cost difference we see against the original brand is typically 40 to 60 percent lower. That gap comes from factory-direct pricing, not from thinner rubber or a weaker bolt.
One more practical note. Re-entry should be non-destructive. A well-designed wedge loosens, lets you add or replace a cable, and re-tightens to the same indicator mark. Some vendors describe this as hot-swap re-entry in live environments. I would add a caution. Re-entry keeps the seal reusable, but whether the re-closed transit still matches the original certification depends on using the same module types and reaching the same compression. Keep spare modules on hand for that reason.
How do I choose the right wedge compression block size for mixed cable diameters in one module?
One lesson from our mold shop: the wedge size is fixed by the leftover packing space, not by the cables. Get the module math right first.
Size the sealing modules first, then the wedge. Group cables by outer diameter, pick step-core modules whose range covers each cable, stack them in rows with stay plates, and add spare modules for future cables. The wedge must match the frame width and fill the remaining packing height.
Mixed diameters are the normal case. A BESS container wall might carry power cables, communication cables, and a coolant pipe through one opening. The good news is that a step-core module adapts to a range of diameters. The installer peels layers from the core until the opening matches the cable jacket. So you do not need one module per exact diameter. You need one module size per diameter range.
Worked example for a single 120 frame
| Cable or pipe | Outer diameter | Module choice | Rows used |
|---|---|---|---|
| Two power cables | 34 mm | Large step-core module, layers peeled to 34 mm | One row of two |
| Four control cables | 12 mm | Medium step-core module, layers peeled to 12 mm | One row of four |
| Six data cables | 7 mm | Small step-core module, layers peeled to 7 mm | One row of six |
| Future reserve | not yet known | Two blank modules of the medium size | Same row as control cables |
Add the module heights. Add the stay plates between rows. Subtract that total from the frame's internal packing height. The remaining space is what the wedge and its stay plate must fill. If the remaining space is too small, move one row to a taller frame or choose a lower-profile wedge. If the remaining space is too large, add a filler module or spacer so the bolt does not run out of travel.
Why the packing height matters more than the cable count
Here is a point I explain often. The wedge needs a defined amount of travel to reach its target pressure. If the stack is too short, the bolt bottoms out before the compression scale reaches its mark. If the stack is too tall, the wedge cannot enter at all. Both cases look like a sizing error on the wedge. In reality, both are a module error. That is why our sizing sheets ask for cable diameters and frame model first, and only then suggest the compression unit.
Long-term pressure and cable jackets
Cable jackets thin slightly over years under load. Engineers call this cold flow 6. A well-compounded EPDM wedge stays elastic and keeps pushing as the jacket relaxes, so the seal does not loosen on its own. Our modules use a halogen-free EPDM chosen for that elastic recovery and for holding shape in a fire event. Two further points are worth knowing when you specify. First, a properly compressed transit also dampens structure-borne noise along the cable run, which some data center builders value. Second, compression blocks with conductive layers are now offered by several vendors to bond cable shields to the frame for EMI and EMP protection. Those are options, not defaults. Ask for them explicitly and ask for the corresponding test evidence.
A final practical tip. Order spare sealing modules with the first batch. When someone adds a cable in year three, the wedge will loosen and re-tighten just fine. The delay usually comes from waiting for a module that nobody stocked.
Conclusion
Leaks, re-tests, and single-source pricing all trace back to the wedge. Understand its mechanics, demand the documents, verify fit with a sample, and you cut cost without risk.
Footnotes
1. Provides a comprehensive overview of cable transit systems used to seal penetrations in industrial environments. ↩︎
2. ISO standards govern the manufacturing quality and testing requirements for industrial sealing components and assemblies. ↩︎
3. Technical resource explaining the material properties and deformation characteristics of various industrial cable jackets. ↩︎
4. The IMO sets global safety standards for watertight and fire-rated integrity in maritime and offshore structures. ↩︎
5. Authoritative source for international trade standards and manufacturing specifications for industrial hardware. ↩︎
6. Scientific explanation of cold flow, also known as creep, in polymers and cable insulation materials. ↩︎



 English
  Español de México
  Deutsch
  Français
  العربية
  Русский